
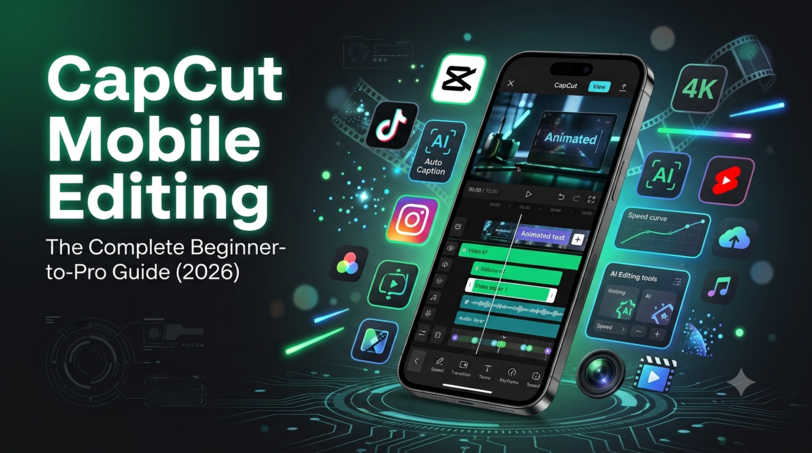
Introduction
Video content has become one of the most effective ways to communicate online. Whether you’re a YouTuber, Instagram creator, business owner, freelancer, or student, well-edited videos can significantly improve engagement and reach.
The good news is that you no longer need an expensive desktop computer or complex editing software to produce professional-looking videos. Today, your smartphone and the right editing app are enough to create impressive content.
Among the many mobile editing applications available, CapCut Mobile stands out as one of the most popular choices. Its intuitive interface, AI-powered tools, professional editing features, and support for high-quality exports make it suitable for both beginners and experienced creators.
In this comprehensive guide, you’ll learn everything about CapCut Mobile Editing—from setting up your first project to using advanced features like keyframe animation, motion tracking, auto captions, and AI-powered effects.
Whether you’re creating YouTube Shorts, Instagram Reels, Facebook videos, TikTok clips, educational tutorials, or promotional content, this guide will help you edit smarter and faster.
What is CapCut Mobile?
CapCut Mobile is a feature-rich video editing application designed for smartphones. It enables users to trim, split, merge, animate, color-grade, and export videos without requiring professional editing experience.
The app supports multiple video formats and includes built-in templates, transitions, text animations, effects, music, stickers, filters, and AI tools. Because of its simple workflow, creators can edit content directly on their phones while maintaining high production quality.
CapCut is especially popular among creators who regularly publish short-form videos because it streamlines editing and supports the vertical aspect ratios used by most social media platforms.
Why Millions of Creators Choose CapCut
CapCut has become one of the world’s leading mobile video editing apps for several reasons.
1. Beginner-Friendly Interface
Unlike many professional editing applications, CapCut presents tools in a clean and organized layout. Even first-time users can understand the timeline, editing controls, and export process within minutes.
2. Professional Features for Free
Many editing applications hide advanced features behind expensive subscriptions.
CapCut includes useful tools such as:
- Keyframe Animation
- Chroma Key
- Motion Blur
- Auto Captions
- AI Cutout
- Background Removal
- Speed Curves
- Voice Effects
- Motion Tracking
These features allow creators to produce polished videos without investing in costly software.
3. Fast Rendering
Waiting hours for video exports can slow your workflow.
CapCut is optimized for modern smartphones, allowing users to export videos quickly while maintaining excellent quality.
4. AI-Powered Editing
Artificial Intelligence has changed mobile editing dramatically.
CapCut includes AI features that automate repetitive editing tasks such as:
- Automatic subtitles
- Voice enhancement
- Background removal
- Smart object selection
- Auto reframe
- AI image enhancement
These tools save creators valuable editing time.
Installing CapCut Mobile
Installing CapCut is straightforward.
Step 1
Open your device’s app store.
Step 2
Search for CapCut.
Step 3
Install the official application.
Step 4
Grant storage, microphone, and media permissions.
Step 5
Open the application and begin your first project.
Within minutes, you’ll be ready to edit your first professional video.
Understanding the CapCut Interface
Before editing, it’s important to understand the main workspace.
Timeline
The timeline is where every clip, image, text layer, sticker, and audio file is organized.
Every edit happens here.
Preview Window
The preview window displays exactly how your video will appear after editing.
It updates instantly whenever changes are made.
Toolbar
The bottom toolbar contains editing tools including:
- Split
- Trim
- Delete
- Speed
- Animation
- Audio
- Text
- Stickers
- Effects
- Filters
These tools form the foundation of every editing project.
Layers
CapCut supports multiple layers.
You can place:
- Videos
- Photos
- Logos
- Text
- Stickers
- Overlays
on separate tracks to create more dynamic edits.
Creating Your First Project
Starting a project is simple.
Import Your Footage
Tap New Project.
Select the videos and photos you want to edit.
CapCut automatically places them on the timeline.
Arrange Your Clips
Drag clips into your preferred order.
Organizing clips before editing saves considerable time later.
Remove Unwanted Sections
Use the Split tool to cut unnecessary portions.
Delete mistakes, long pauses, or shaky footage.
Clean editing improves viewer retention.
Basic Editing Tools Explained
Mastering the fundamentals is essential before exploring advanced features.
Trim
Trimming removes unwanted portions from the beginning or end of a clip.
This helps eliminate unnecessary footage.
Split
Split divides a clip into multiple sections.
This is useful for:
- Scene changes
- Removing mistakes
- Adding transitions
- Creating jump cuts
Delete
Delete removes selected clips without affecting the rest of the project.
Crop
Cropping adjusts the visible portion of the video.
Use it to:
- Reframe subjects
- Remove distractions
- Fit different aspect ratios
Rotate
Rotate corrects incorrectly recorded videos.
Flip
Flip creates mirrored footage.
Useful for creative effects or correcting selfie videos.
Working with Audio
Excellent visuals alone cannot make a successful video.
Audio quality matters equally.
CapCut provides several audio editing tools.
Background Music
Import music from your device or use available sound libraries.
Choose tracks that match your video’s mood.
Voiceovers
Record narration directly inside CapCut.
Voiceovers are ideal for:
- Tutorials
- Product reviews
- Educational videos
- Explainer content
Sound Effects
Small sound effects significantly improve viewer engagement.
Popular examples include:
- Clicks
- Whooshes
- Pops
- Camera sounds
- Notification effects
Use them strategically rather than excessively.
Volume Control
Balance all audio sources.
Your background music should support—not overpower—your voice.
Adding Text to Videos
Text helps communicate information clearly and increases viewer retention.
CapCut offers multiple text styles.
Titles
Use titles to introduce your topic.
Keep them short and readable.
Subtitles
Subtitles improve accessibility and help viewers who watch without sound.
Many users browse social media with muted audio, making subtitles especially valuable.
Animated Text
Animation makes text more engaging.
Popular animations include:
- Fade
- Pop
- Slide
- Bounce
- Zoom
Avoid excessive animation, as it can distract from your message.
Fonts and Colors
Maintain consistency throughout your project.
Choose:
- One or two fonts
- Brand colors
- Clear contrast
- Readable sizes
Consistent typography gives your videos a professional appearance.
Using Stickers and Emojis
Stickers can add personality, humor, or emphasis.
Common uses include:
- Reaction videos
- Comedy edits
- Educational highlights
- Gaming content
- Lifestyle vlogs
Use stickers sparingly to avoid cluttering the screen.
Image Overlays
CapCut allows you to place images over video clips.
This feature is useful for:
- Product demonstrations
- Before-and-after comparisons
- Logos
- Watermarks
- Screenshots
- Infographics
Image overlays help explain concepts visually and keep viewers engaged.
Coming in Part 2
In the next part of this guide, you’ll learn:
- Advanced Transitions
- Keyframe Animation
- Motion Tracking
- AI Editing Features
- Green Screen Editing
- Color Grading
- Speed Ramping
- Cinematic Effects
- Export Settings
- Professional Editing Tips
- Common Mistakes to Avoid
- 15 SEO FAQs
- FAQ Schema (JSON-LD)
- Internal Linking Strategy
- Image ALT Text Suggestions
- Complete SEO Checklist
- Final Conclusion